How to Create a Client Account (Sign Up) – Email or Google Method
Before you can manage your web hosting services, you need to create a client account. Our platform offers two easy sign-up options so you can get started quickly and securely.
You can create your account using:
-
Email & Password (Basic Sign Up)
-
Google Sign Up (Fast & Secure)
This guide explains both methods step by step.
Why Do You Need a Client Account?
Your client account gives you access to:
-
Hosting services & control panel
-
Domain management
-
Invoice payments & billing history
-
Support tickets
-
Account security settings
Method 1: Create Account Using Email & Password (Basic Sign Up)
Step 1: Open the Client Area
Open your web browser and visit the client area:
???? https://client.nanoshellnet.com
[caption id="attachment_3740" align="aligncenter" width="762"]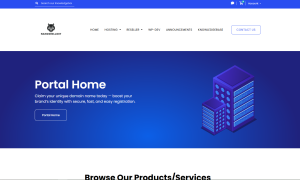 How to Create a Client Account[/caption]
Click on Sign Up or Register.
[caption id="attachment_3741" align="aligncenter" width="300"]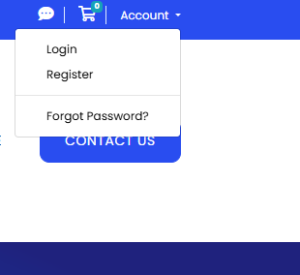 nanoshellnet Register Button[/caption]
Step 2: Fill in Your Details
Enter the required information:
-
First Name & Last Name
-
Email Address
-
Phone Number (optional)
-
Address details (if required)
[caption id="attachment_3742" align="aligncenter" width="530"]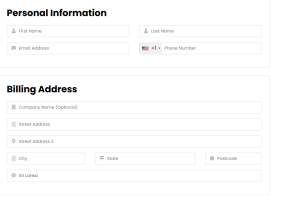 Nanoshellnet Singup Area[/caption]
Step 3: Create a Password
-
Choose a strong password
-
Confirm your password
-
Make sure it’s secure and unique
[caption id="attachment_3746" align="aligncenter" width="736"]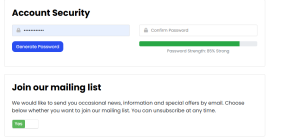 Nanoshellnet Password[/caption]
Step 4: Complete Registration
-
Accept the Terms of Service
-
Complete any security verification (captcha)
-
Click Create Account
You will receive a confirmation email once registration is complete.
Method 2: Create Account Using Google Sign Up (Recommended)
Google Sign Up is the fastest and easiest way to create your client account.
Step 1: Click “Sign Up with Google”
On the client area page, click the Sign Up with Google button.
Step 2: Choose Your Google Account
-
Select your Google email
-
Allow the required permissions
That’s it! ????
Your client account will be created automatically using your Google email.
Benefits of Google Sign Up
✔ No need to fill long forms
✔ No password to remember
✔ Secure Google authentication
✔ Faster access to services
Account Verification
After signing up:
-
You may receive a verification email
-
Click the verification link to activate your account
-
Once verified, you can log in and order services
Common Sign-Up Issues & Solutions
❌ Email Already Exists
-
Try logging in instead of signing up
-
Use the “Forgot Password” option
❌ Verification Email Not Received
-
Check spam/junk folder
-
Wait a few minutes and try again
-
Contact support if needed
❌ Google Sign Up Not Working
-
Enable browser pop-ups
-
Use an updated browser (Chrome recommended)
Security Tips for New Accounts
-
Use Google Sign Up for better security
-
Enable Two-Factor Authentication (2FA)
-
Never share your account details
-
Keep your email secure
What’s Next?
Once your account is created, you can:
-
Log in to the client area
-
Order hosting or domain services
-
Access your control panel
-
Open support tickets
